Installing the Printer Driver from the [Printers and Faxes] Folder or the [Printers] Folder
26-พ.ค.-2008
8200136900
สารละลาย
The procedure for installing the printer driver from the [Printers and Faxes] folder or the [Printers] folder varies depending on your operating system. See the following according to your operating system.
 For Windows Vista
1. Turn the computer on and start up Windows Vista.
2. Log on to Windows Vista.
NOTE
A user without administrator rights can also install the printer driver.
If you log on as a user without administrator rights, however, you need the password for a user with administrator rights during the installation.
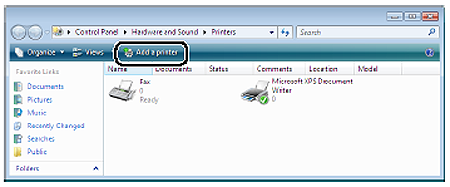
3. Display the [Printers] folder.
From the [Start] menu, select [Control Panel], and then click [Printer].
4. Click [Add a printer].
5. Click [Add a network, wireless or Bluetooth printer].
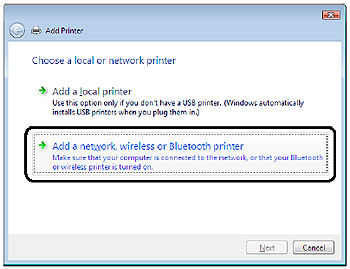
Searching for the printer on the network starts automatically.
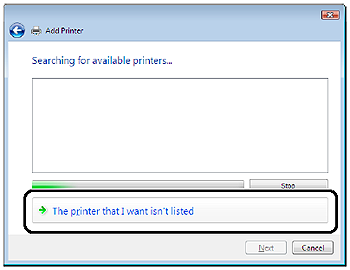
6. Click [The printer that I want isn't listed].
7. Select [Select a shared printer by name] (1), then click [Next] (2).

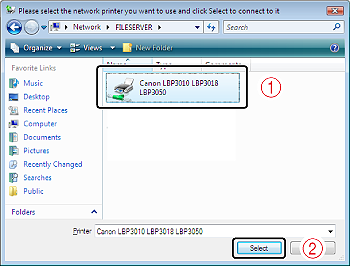
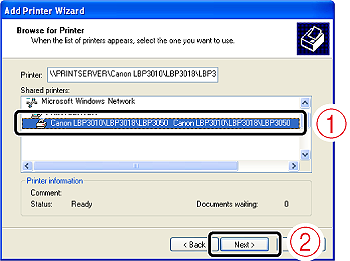
8. Select the printer on the print server (1), then click [Select] (2).
NOTE
When specifying the path to the network using "\" directly, specify it as "\\the print sever name (the computer name of the print server)\the printer name".
9. Click [Install driver].
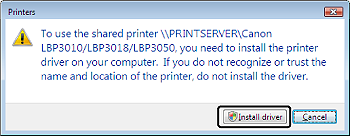
NOTE
If the [User Account Control] dialog box appears, click [Continue].
10. Click [Next].
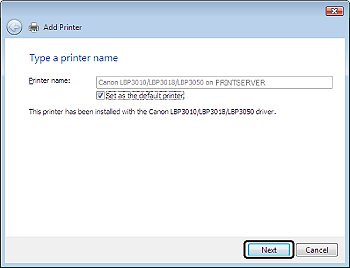
NOTE
If another printer driver has already been installed in the computer, [Set as the default printer] appears. If you want to specify the printer as the default printer, select the [Set as the default printer] check box.
11. If you want to print a test page, click [Print a test page].
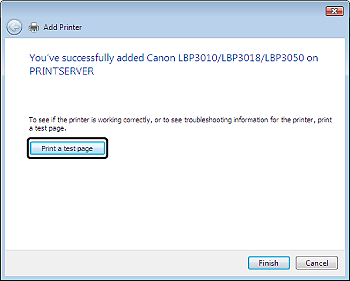
A confirmation dialog box appears. Click [Close] to close the dialog box.
12. Click [Finish].
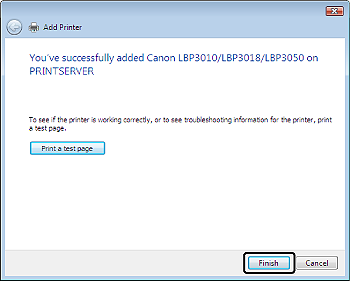
The installation of the printer driver is completed.
For Windows XP/Server 20031. Turn the computer on and start up Windows XP/Server 2003.
2. Log on to Windows XP/Server 2003.
NOTE
A user without administrator rights can also install the printer driver.
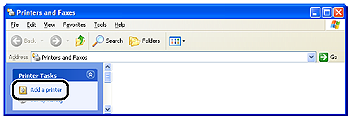
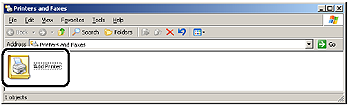
3. Display the [Printers and Faxes] folder.


From the [Start] menu, select [Printers and Faxes].

From the [Start] menu, select [Control Panel], and then click [Printers and Other Hardware] > [Printers and Faxes].
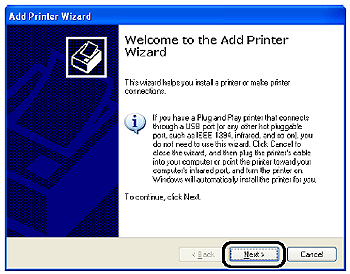
4. Display [Add Printer Wizard].

Click [Add a printer].
Double-click [Add Printer].
5. Click [Next].
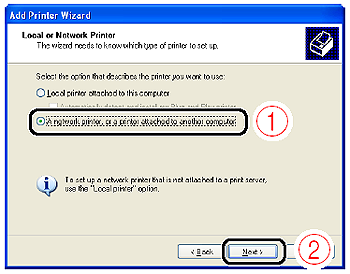
6. Select [A network printer, or a printer attached to another computer] (1), then click [Next] (2).
7. Select [Connect to this printer (or to browse for a printer, select this option and click Next)] (1), then click [Next] (2).

8. Select the printer on the print server (1), then click [Next] (2).
NOTE
- If the [Connect to Printer] dialog box appears, follow the directions in the message.
- When specifying the path to the network using "\" directly, specify it as "\\the print sever name (the computer name of the print server)\the printer name".
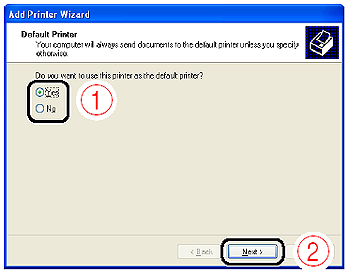
9. If the following screen appears, select whether or not to use this printer as the default printer (1), and then click [Next] (2).
10. Click [Finish].
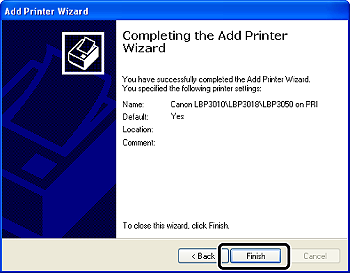
The installation of the printer driver is completed.
For Windows 20001. Turn the computer on and start up Windows 2000.
2. Log on to Windows 2000.
NOTE
A user without administrator rights can also install the printer driver.
3. Display the [Printers] folder.
From the [Start] menu, select [Settings] > [Printers].
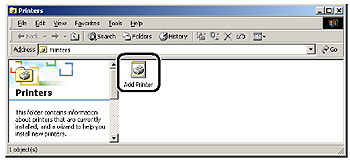
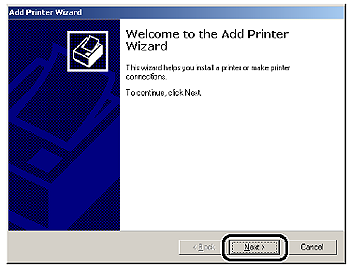
4. Double-click [Add Printer].
5. Click [Next].
6. Select [Network printer] (1), then click [Next] (2).

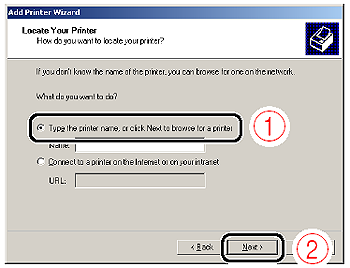
7. Select [Type the printer name, or click Next to browse for a printer] (1), then click [Next] (2).
8. Select the printer on the print server (1), then click [Next] (2).

NOTE
When specifying the path to the network using "\" directly, specify it as "\\the print sever name (the computer name of the print server)\the printer name".
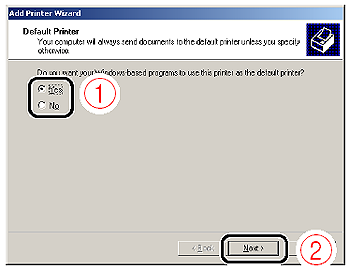
9. Select whether or not to use this printer as the default printer (1), then click [Next] (2).
10. Click [Finish].
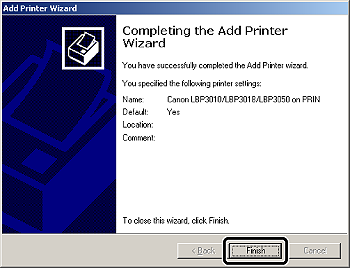
The installation of the printer driver is completed.