How to Configure a Shared Folder (Windows 98/Me) (MF4680)
30-Jan-2012
8201431000
Solution
NOTE
a. If a suitable Windows 2000/XP/Server 2003/Vista machine is available on your network, it is recommended that you configure that machine as a file server instead of using a Windows 98/Me machine.
b. In the following procedures, items displayed on the screen for Windows 98 are used; items might differ depending on your operating system.
1. Specify the NetBIOS settings.
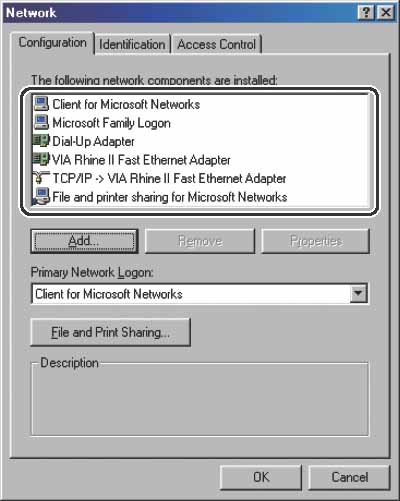
Right-click the [Network Neighborhood] icon displayed on the desktop, then click [Properties].
In [The following network components are installed], confirm that both [Client for Microsoft Networks] and [File and printer sharing for Microsoft Networks] appear. If these components do not appear, click [Add] to install.
Click [File and Print Sharing], click [I want to be able to give others access to my files], then click [OK].
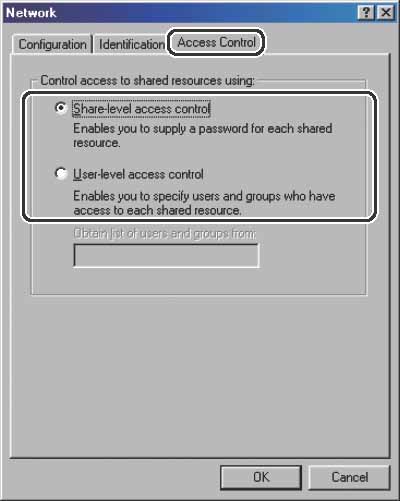
To specify the access control method, click the [Access Control] tab, then select the level of access control. If you select [User-level access control], specify a domain in which a list of users and groups is saved.
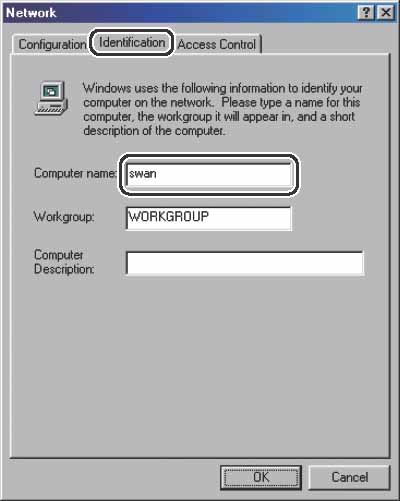
In the [Network] dialog box, click the [Identification] tab to display the [Identification] sheet. Confirm the computer name.
2. Set up file sharing.
- If [Share-level access control] is selected:
Right-click the folder you want to share using Explorer, then click [Sharing].
Enter a password. If [Depends on Password] is selected, enter a password not longer than 8 alphanumeric characters for full access.
Confirm the settings you entered, then click [OK].
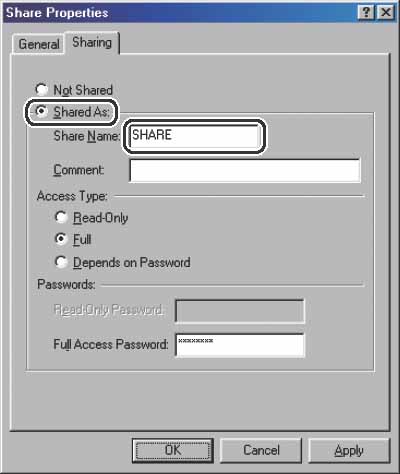
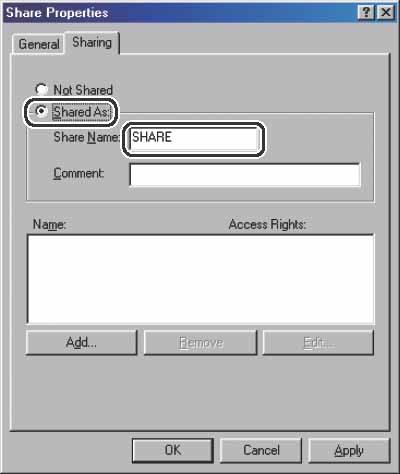
- If [User-level access control] is selected:
Right-click the folder you want to share using Explorer, then click [Sharing].
On the [Sharing] sheet, click [Shared As], then enter the share name in [Share Name].
Click [Add] to open the [Add Users] dialog box on the screen.
From the left list select the users to whom you want to give access to the shared folder, then add them to the right list.
NOTE
For details on this dialog box, see the Windows 98/Me documentation.
Click [OK] to close the properties dialog box of the shared folder.
3. Set a destination address using the machine' s operation panel.
- Sample destination setting:
Server side settings:
[Computer name]: swan
[Share Name]: share
Create a folder called Images within share, and then specify Images as the destination for sending.
The machine' s destination settings:
The server protocol: [SMB]
[NAME]: The destination' s name
[HOST NAME]: \\swan\share
[FILE PATH]: \Images
[LOGIN NAME]: (Not required if you have selected [Sharelevel access control] in step 1)
[PASSWORD]: Password entered in step 2.
NOTE
a. A maximum of 120 alphanumeric characters can be entered for [HOST NAME] on the operation panel. A maximum of 120 alphanumeric characters can be entered for [FILE PATH], and a maximum of 24 alphanumeric characters can be entered for [LOGIN NAME]. Enter each of these items on the server using no more than their allowable number of characters.
b. If you change the language of the LCD display, [HOST NAME] and [FILE PATH] may not be displayed correctly, or you may not be able to browse the directories.
c. If the language of the LCD display differs from the computer on your network, [HOST NAME] and [FILE PATH] may not be displayed correctly, or you may not be able to browse the directories.
d. You can send data using the following formats. A DNS server is required for the latter case:
\\192.168.2.100\share
\\host_name.organization.company.com\share